Installing a Deck Railing
One of the biggest upgrades you can make to your deck or porch is brand new railings. Replacing that flimsy, old, and downright outdated railing system with a sleek new vinyl or aluminum railing can transform the feel of your whole deck. Even better news — installing a deck railing on your own is a great DIY project to try!
At GreenWay Fence & Railing, we offer leading vinyl and aluminum railings to both homeowners and contractors alike. If you’re ready to upgrade your outdoor space, we’re the team to talk to. While we’re happy to refer you to one of our trusted contractors, we know that installing a deck railing can make for a great weekend project. In this blog, we’re exploring how to install a deck railing on your own — read more or get your railing quote right now!
Choosing Your Deck Railing Style

Before you tackle the DIY labor of installing your new deck railing, you’ll start with the fun part: picking out your railing system. You have more choices than ever before for your deck railing style — and since you’re going to have your railing system for decades to come, you want to make sure you love it.
These are the choices you’ll make when selecting your ideal deck railing style:
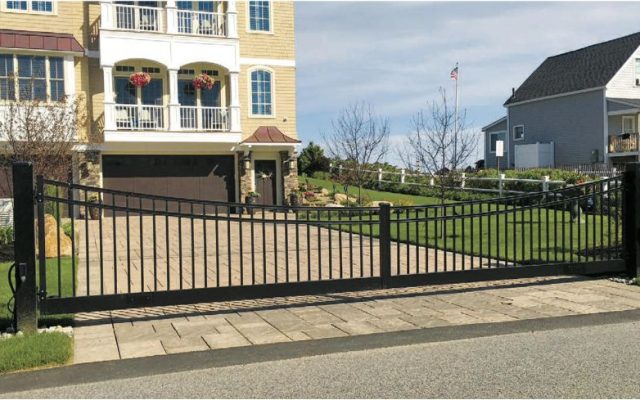
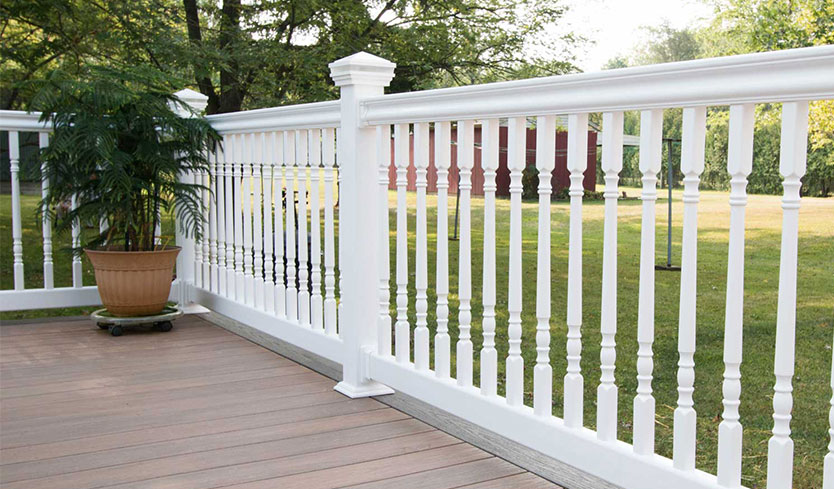
- Pick Your Material — Both vinyl and aluminum railings possess a sleek, modern look and won’t rot or grow mold like wooden ones. Vinyl railings will require some easy maintenance to keep them looking great, while aluminum is essentially maintenance-free.
- Choose Your Color — While white is the most popular vinyl color and black is the most popular aluminum color, you have a whole other range of options. You can choose a complementary color for your railing that matches the trim or shutters on your home.
- Pick 2 or 3 Rails — The main choice here is between a system with 2 or 3 horizontal rails. The third rail adds a slightly more decorative look to the deck railing.
- Decide on Lighting Options — Some luxury railing systems even include built-in perimeter lighting that makes your deck more fun and functional later at night. Some railings come with post cap lighting and side mount lighting options.
Get inspired by our front porch makeover ideas.
Once you have an idea of the railing style you want to buy, you’re ready to learn about the process of installing a railing on a deck.
Step-by-Step: How to Install Deck Railing

If you purchase a railing system from GreenWay, you’ll receive a detailed guide to follow that is specific to your product. However, this blog is meant to give you the basic idea of how to install a railing on a deck and how manageable of a task it can be.
If this project sounds like it’s a little outside of your skill set right now, don’t worry — we’re more than happy to recommend a skilled, trusted contractor to do the work for you. Get in touch to shop and get recommendations!
These are the basics of installing a deck railing:
- Attach the Mounting Brackets to the Posts — You’ll do this using the self-tapping screws included with your railing kit. Once you’re ready to mount the brackets on your deck, the posts will already be attached.
- Mark Where the Lag Holes Will be Drilled — Use a sharpie to mark the location on your deck where you will attach the posts.
- Drill the Holes in Your Deck Board — Be careful to make sure that the holes line up!
- Insert and Tighten the Bolts — Tighten the bolts until the post is level. Make sure that it’s level before moving on!
- Attach the Snap-Together Flair to Cover the Bolts — This will keep your post looking good since it will match your deck railing style and color.
- Insert Balusters into Posts — Start with the bottom rail first and then set the top rail after that.
- Screw the Railing into the Bracket — Once the baluster is in place, you’ll want to screw the railing into the brackets that give it the sturdiness it needs.
- Hammer the Top Tail on Top of the Balusters — Once the baluster is placed and screwed in you’ll attach the top rail.
- Place Post Caps — After the top rail is in place, you’ll use a rubber mallet to set the post caps.
These are the basic steps that you need to follow to install a deck railing. While this isn’t a full instruction guide, this should give you the basic information — and the confidence — needed to build your deck rail!
Shop for Your Railing System from GreenWay
Now that you have the basic gist of installing a deck railing and how to find your deck railing style, you’re ready to get started. We offer the highest quality vinyl and aluminum railings that both homeowners and contractors want to use.
The next step is to stop by our showroom, give us a call, or send us a message. We can answer all of your questions — and provide you with pricing!